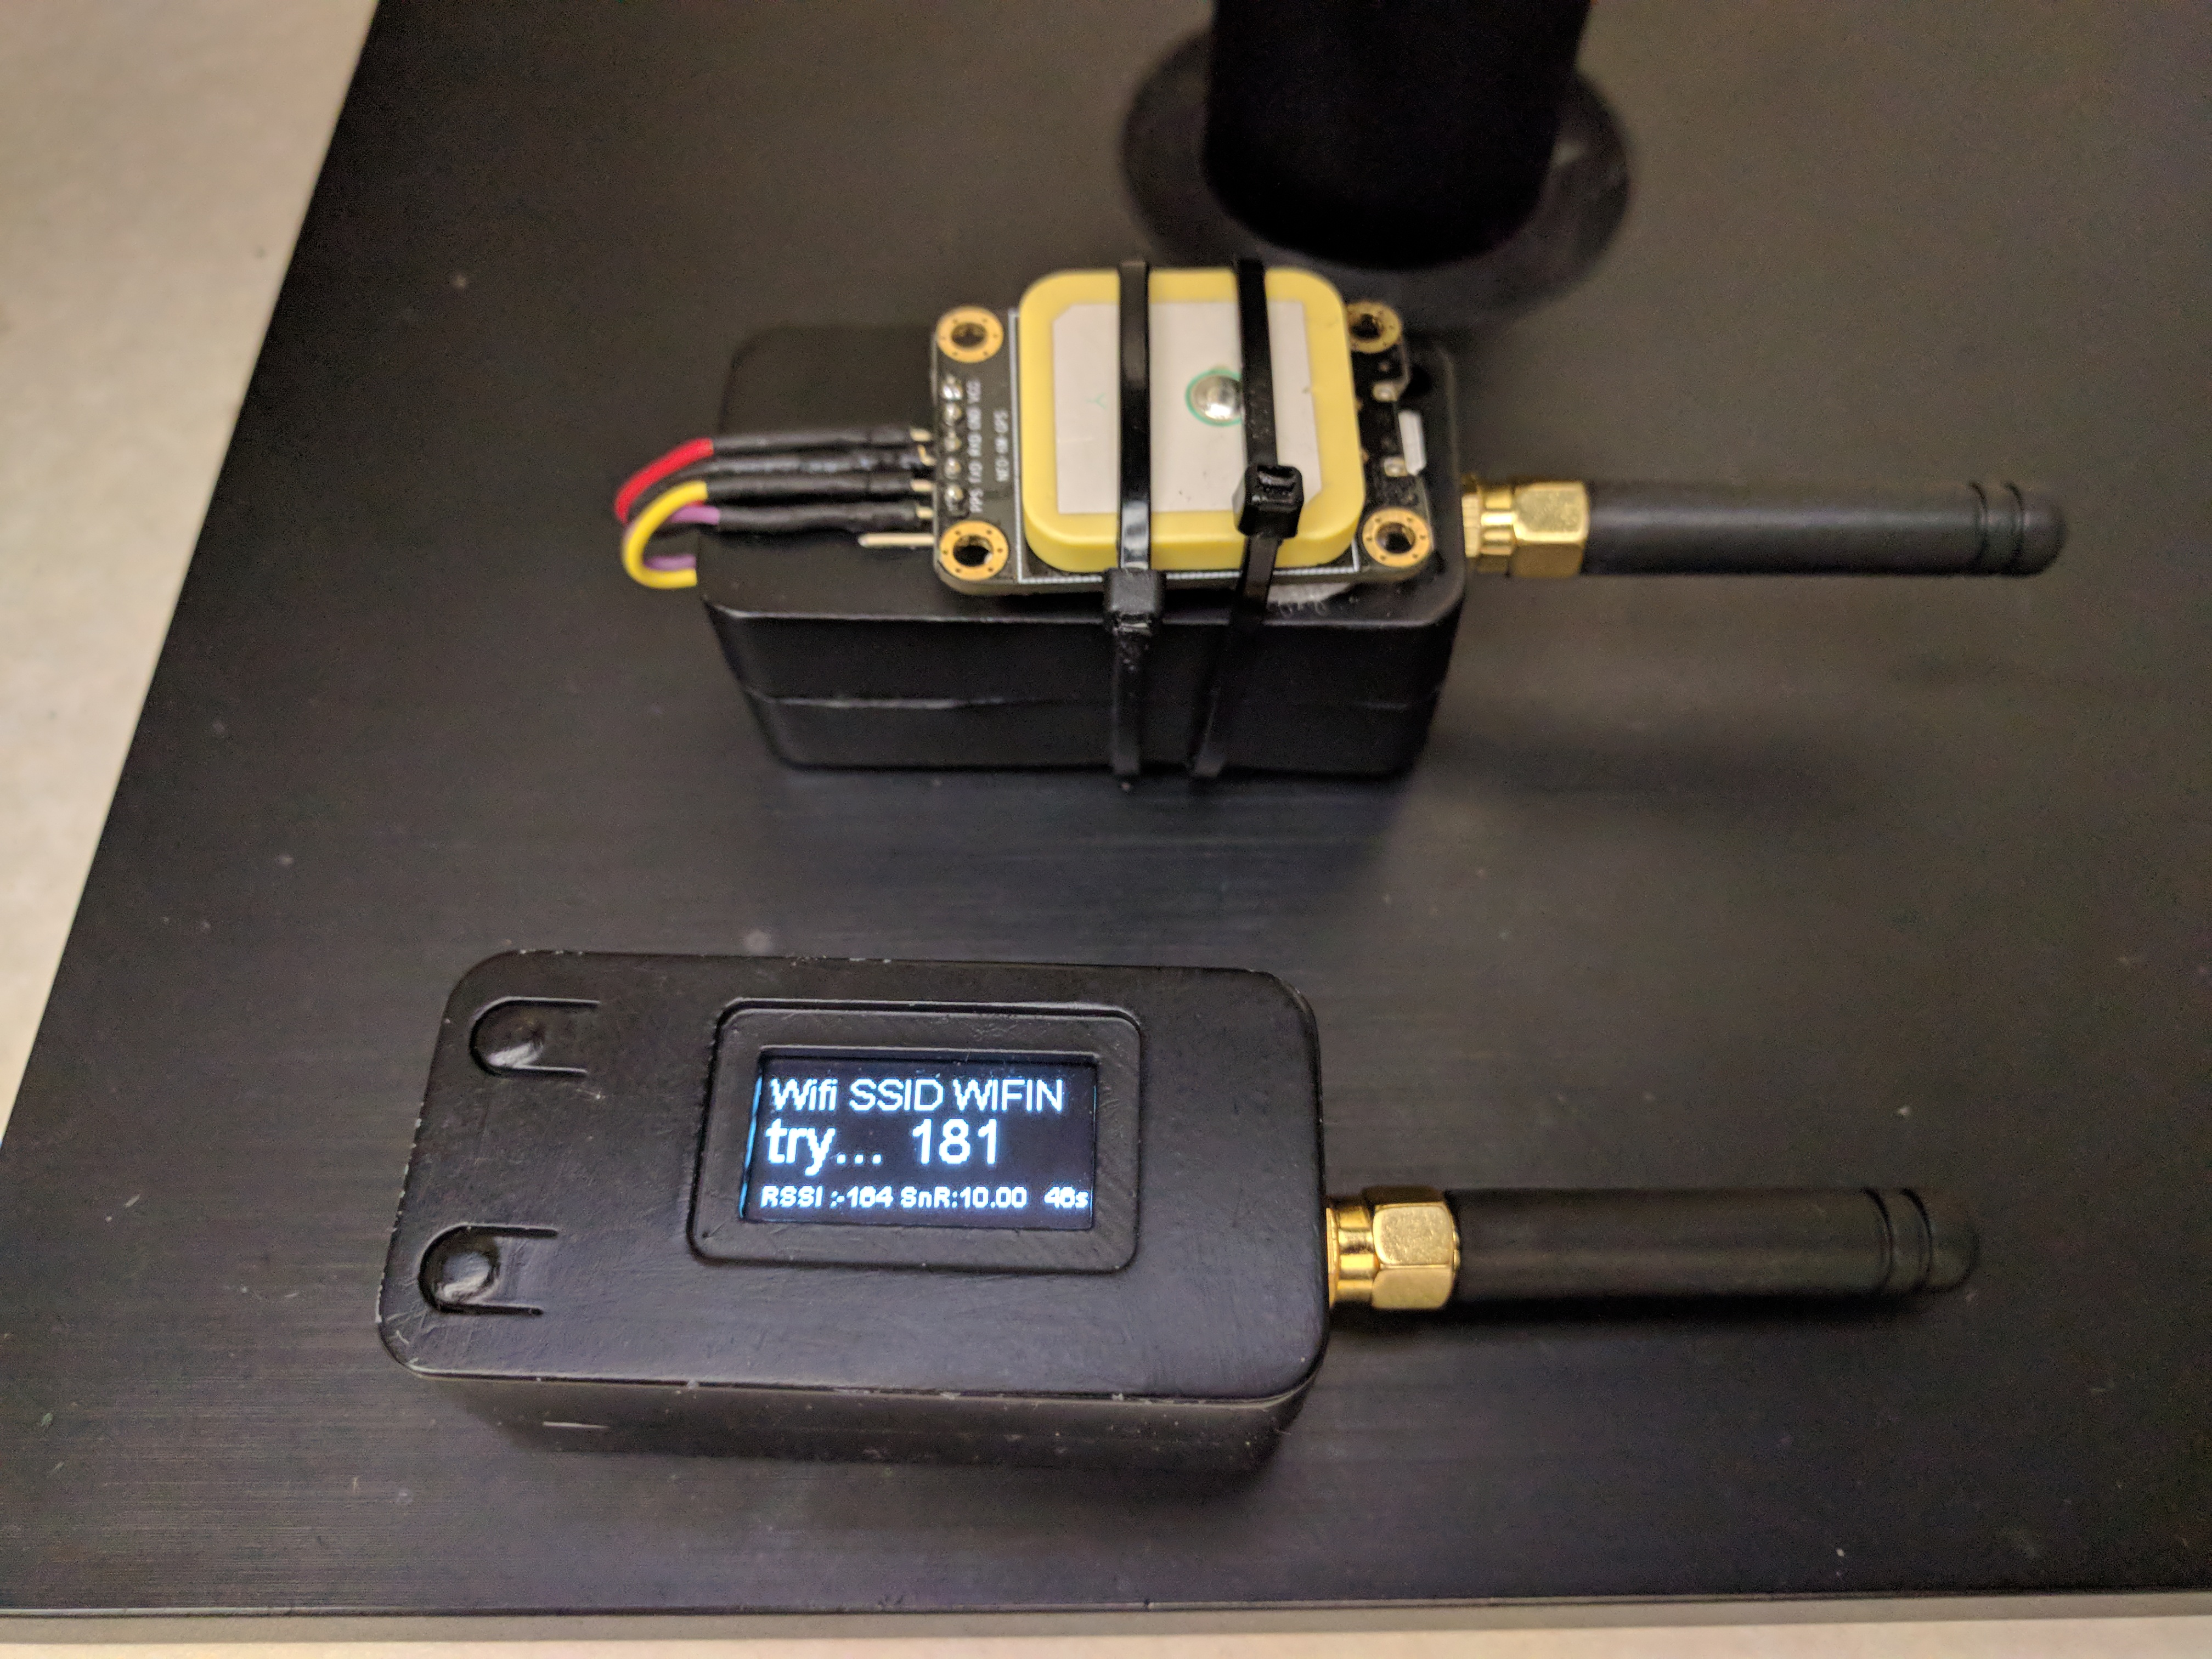
TTGO esp32 LoRa Modules using MQTT
So I’ve been playing with IoT lately, using platforms such as Arduino ,ESP32, Raspberry Pi and when it comes to being able to have these devices communicate with a hub or server, the de facto standard is to use a MQTT server and protocol . Unfortunately, prior to Windows 10 finding a native Windows version is complicated.
In this post I’ll describe the super-easy steps to getting it up and running with Windows 10 . The trick on Windows 10 (yes only on Windows 10 or later) is to Install Windows Linux Subsytem (WSL)
While there are a bunch of MQTT implementations, one very popular implementation of the MQTT Broker is the Eclipse Mosquitto™ An open source MQTT broker, it runs on multiple platforms, Linux is by far the preferred platform, and while it does have a Windows variation unfortunately it requires too many dependencies to make it practical to just run the install script and get it up and running.
View / Inspect MQTT Traffic
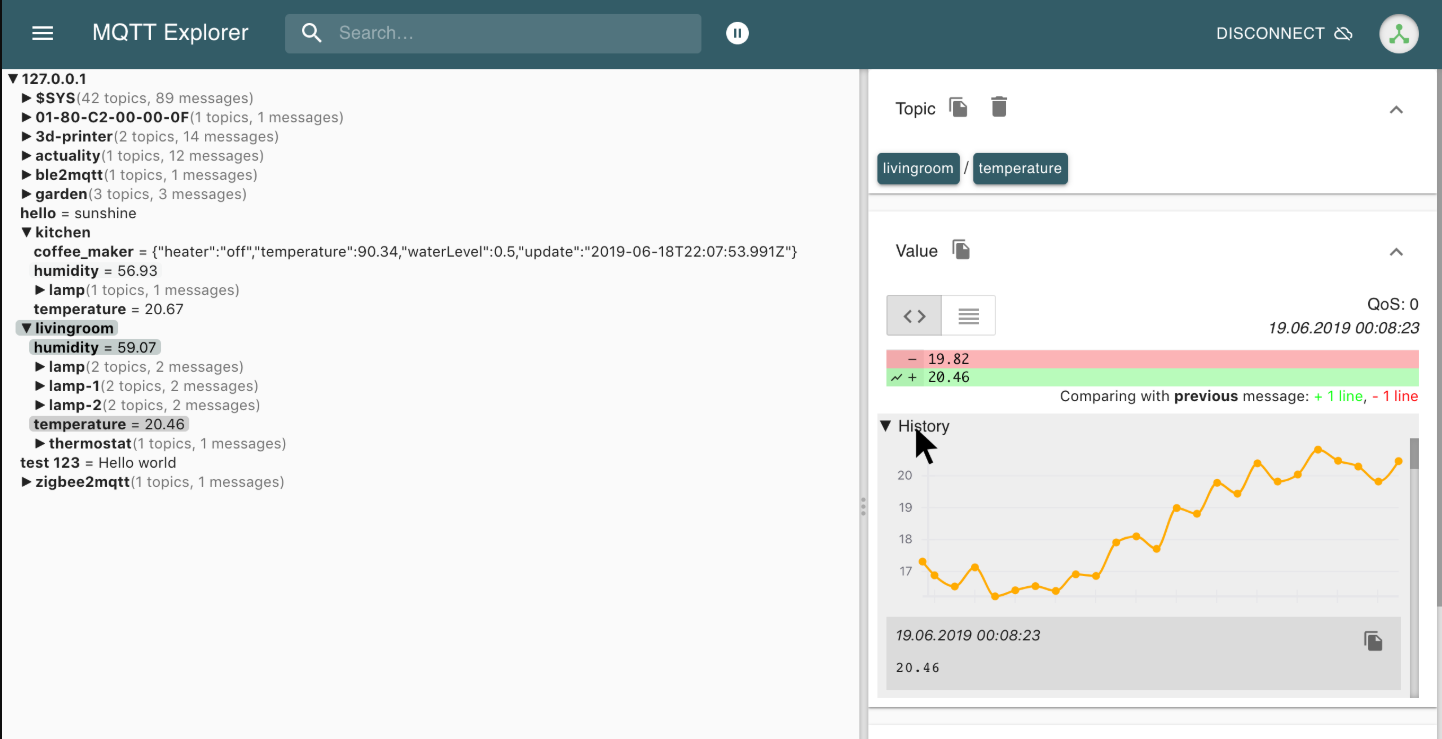
MQTT Explorer
On a side note once you get the MQTT Mosquitto server up and running , a good way to see MQTT traffic and inspect it is with MQTT Explorer . Directly from their website ” MQTT Explorer is a comprehensive MQTT client that provides a structured view of your MQTT topics and makes working with devices/services on your broker dead-simple.”
Challenges of Running Mosquitto on earlier Windows Vista,7 ,8 …
Basically if you have a version of Windows prior to Windows 10, you will need to perform the following steps , or a variation of these (Some sites use Cygwin for the Linux layer)..
As you can see it’s a bit of an involved process., plus some of those binaries or dll’s must be a certain 32bit version for overall library compatibility so it’s a hassle, again be careful where you get the binaries/dll from , many of the links are outdated or compromised. Be careful. For complete details visit this post.
- . Download and install OpenSSL for Windows , make sure you grab the older version Win32 OpenSSL v1.0.2o as newer versions are missing critical dll.
- Download and unzip Win32 Pthread dll , and copy them to you mosquitto binary folder,
- Run and test mosquitto Server..
- WARNING : remember double check the links above , be careful and make sure these are from reputable sources, scan all downloads for malicious software, I inadvertently downloaded some malware attached to some of the DLL files. don’t just blindly clicking other sites links,..
- Just forget the above steps and do the simple steps below.
Windows 10 Runs Linux shell via Windows 10’s Windows Subsystem for Linux (WSL)
If you have Windows 10 then you’re in luck! it’s soo much easier.. the reason things are much easier in Windows 10, is because Microsoft has made it so you can install a Windows Subsytem for Linux (Basically Microsoft created a Linux friendly container/vm within Windows 10) Simply run the command below as an administrator in Powershell and then reboot.
Enable-WindowsOptionalFeature -Online -FeatureName Microsoft-Windows-Subsystem-Linux
Installing Ubuntu (or other Linux) from Microsoft Store (free)
Once your system reboots, no head on over to the Microsoft Store (a trusted source) and choose a Linux distribution, that is available and you prefer, I went with Ubuntu .
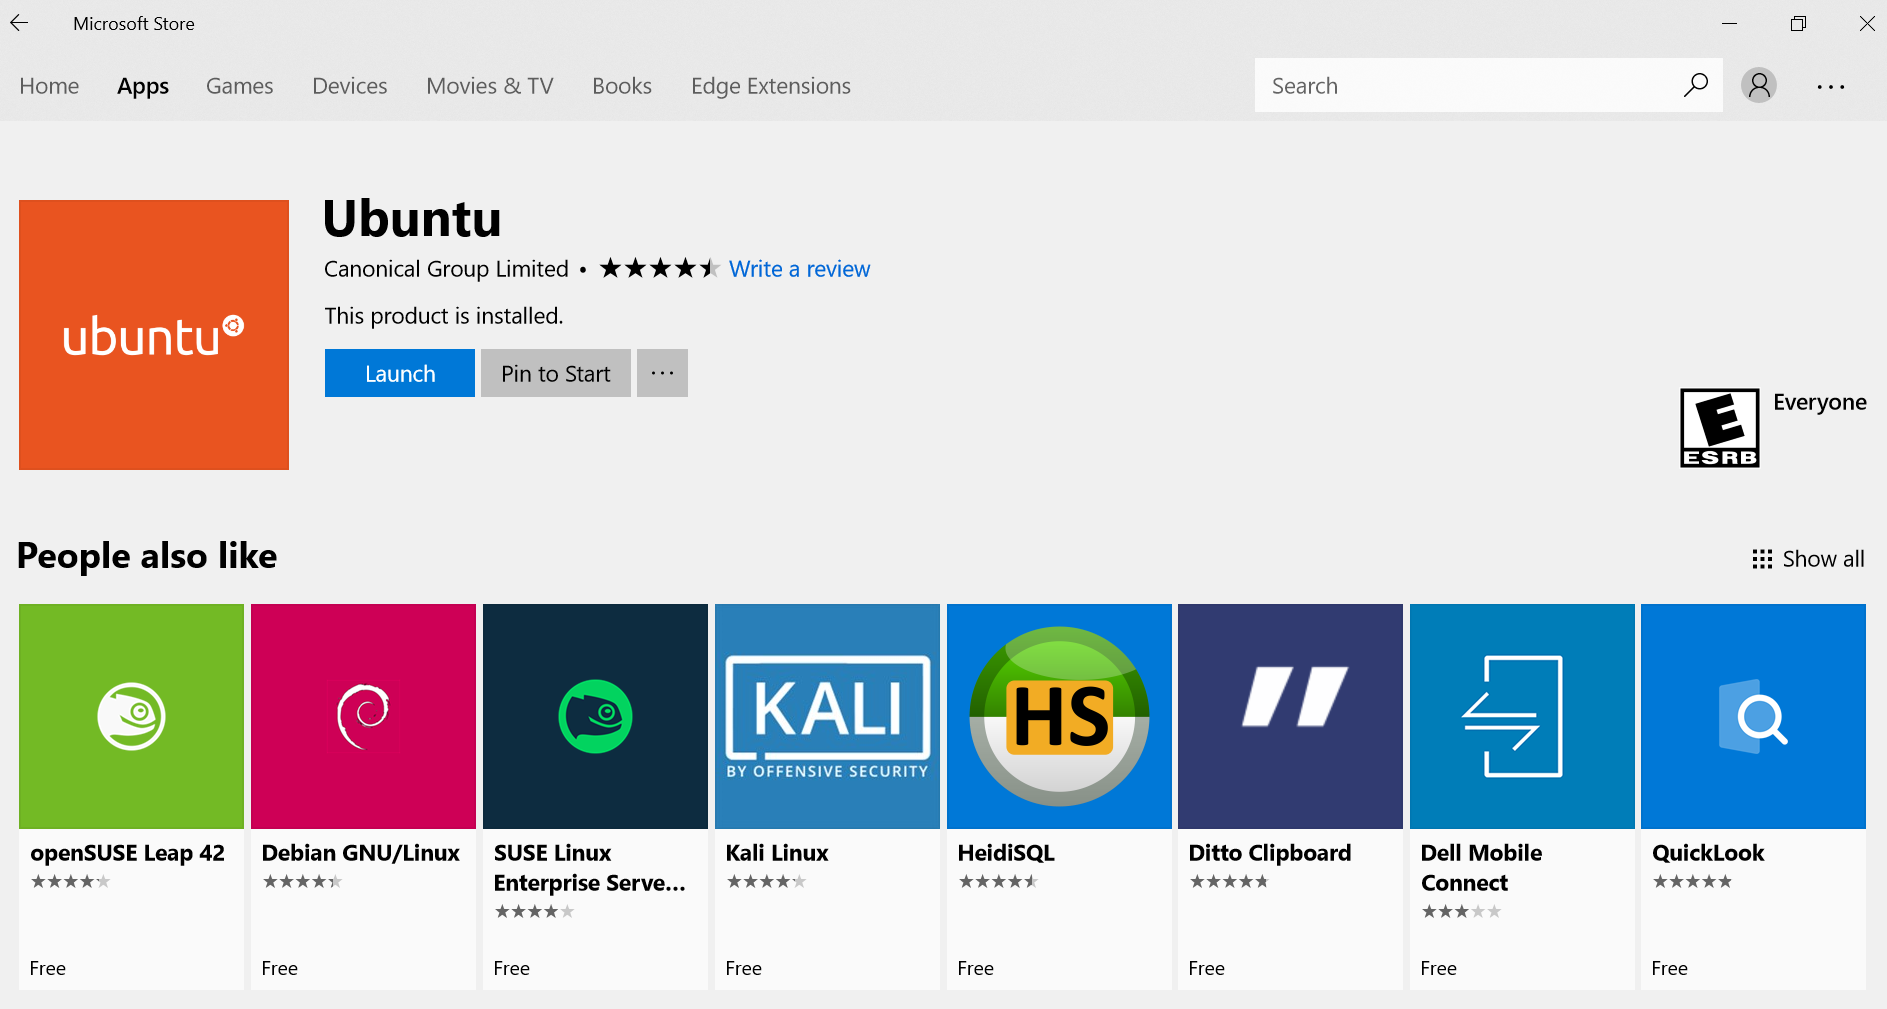
Microsoft Store available linux packages
After that installs , just run it and it will put you into the Ubuntu Linux Shell, and from here you can proceed to install good ole Linux Mosquitto MQTT, don’t forget to update the software distribution repos first..
sudo apt-get update
then install mosquitto.
sudo apt-get install mosquitto
and run it, it will run on the default port 1883. You can of course configure it just refer to the usual Linux Mosquitto docs.
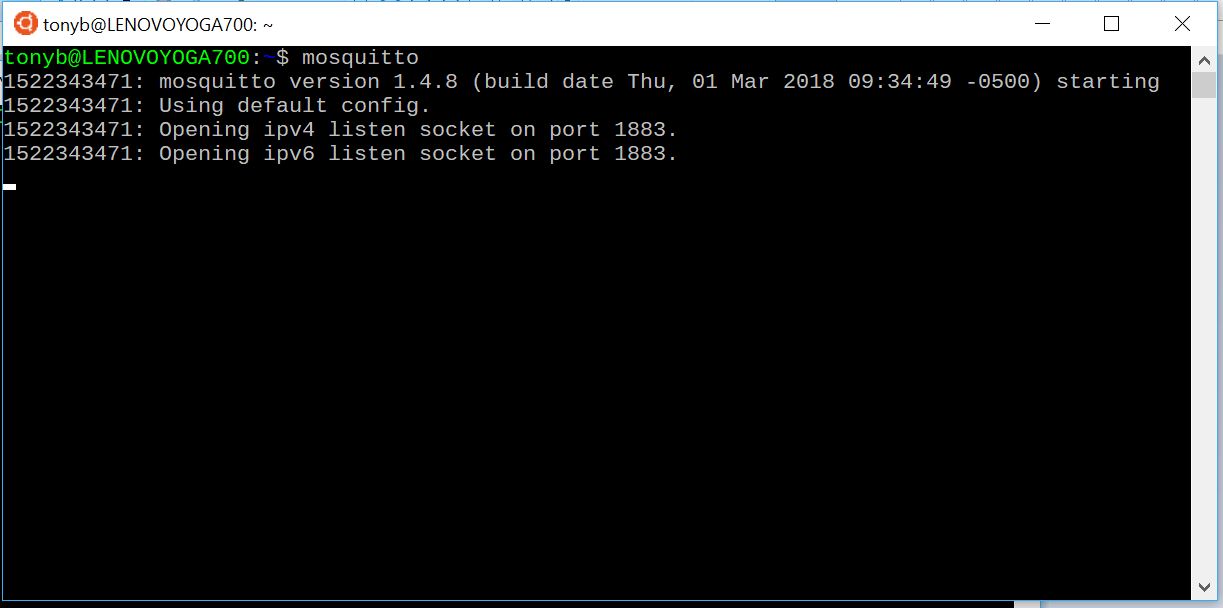
Run Mosquitto in Windows Linux SubsystemWe’re almost done! we need to do one more step. You need to open up your ports to allow the Linux subsystem to be reachable from the outside and act as a server. Steps are…
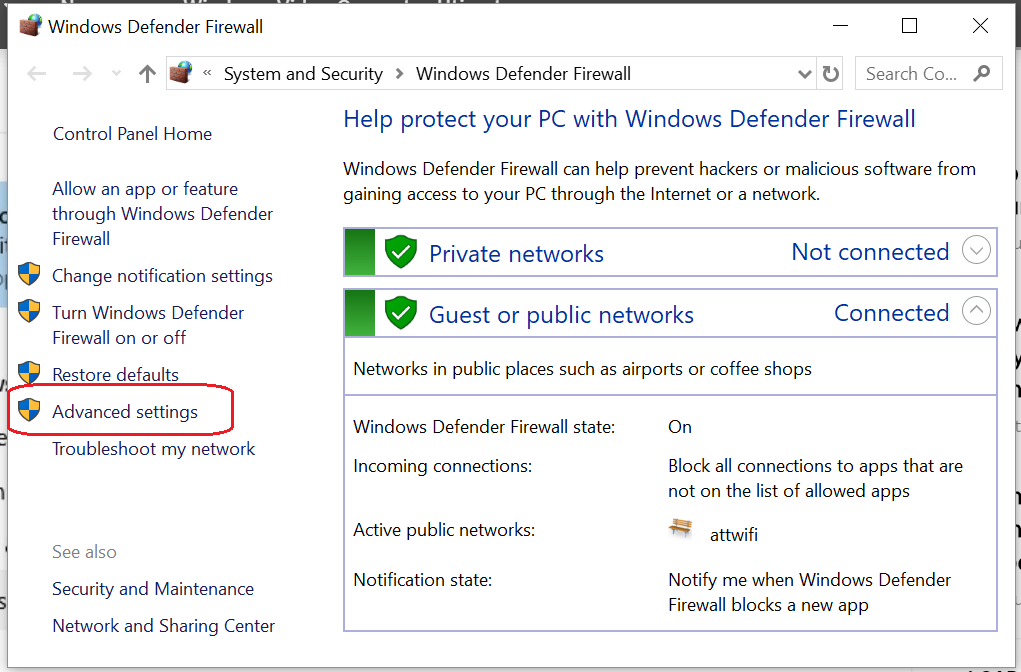
Windows 10 Firewall Advanced settings
- Go to Windows Firewall with Advanced Security (choose Advanced Settings in Firewall prompt)
- Click Inbound Rules then on right hand pane add a New Rule
- This will bring up a New Rules wizard, just follow the prompt entering the following
- Set rule type as Port.
- Enter a Specific local port your server is running under WSL, in this case, 1883
- Choose TCP port
- in the next tab Action tab, choose Allow the connection
- next where this rule Applies choose all appropriate Domains, such as Public (entire Internet) or Private (just my local LAN traffic) or check all for complete access from outside.
- and finally just name the Rule (Mosquitto port 1883) or something similar and press Finish.
Now all MQTT traffic to this server should be responded to as expected.
Also when your run WSL you can access your normal Windows drive and folders check under the /mnt/ folder.
One drawback to be aware of… (reboots)
Note: this approach has one drawback, running it as a server after rebooting, that is the server because its part of the Windows Linux Subsystem will need to be started automatically each time windows re-boots, and this may require more fiddling,
I found a post here that may be of help. Starting a linux bash application as a service, since you need to have windows automatically boot the WSL for mosquitto to run in this environment, I gather its possible , but requires more tweaking.. if any windows folks have any good suggestions let me know.
Conclusion
While it may seem like a lot of steps , I can tell you it will only take a few minutes compared to all the time needed to try and get Mosquitto running as a native windows application.. Hope this helps some of you guys, leave comments and share your experiences.