 Although I have not mentioned it much on this blog, Photography is one of my hobbies, so I’m an amateur at it, but I always like to learn , try new gadgets or apply new techniques. I’m a big fan of sports photography (even when I’m in the sport) or other action photos (like air shows, soccer games, bike races etc.), have your own favorite tip leave it in the comments section.
I’m aware photography is a rich topic and I’m only scratching the surface, but to me these tips give you the most “bang” for your photo. So below are my tips, most tips assume your using a DSLR but some apply to any camera. Below are my favorite tips.
Tip #1 : Get Close

Closer photo of honeymooners
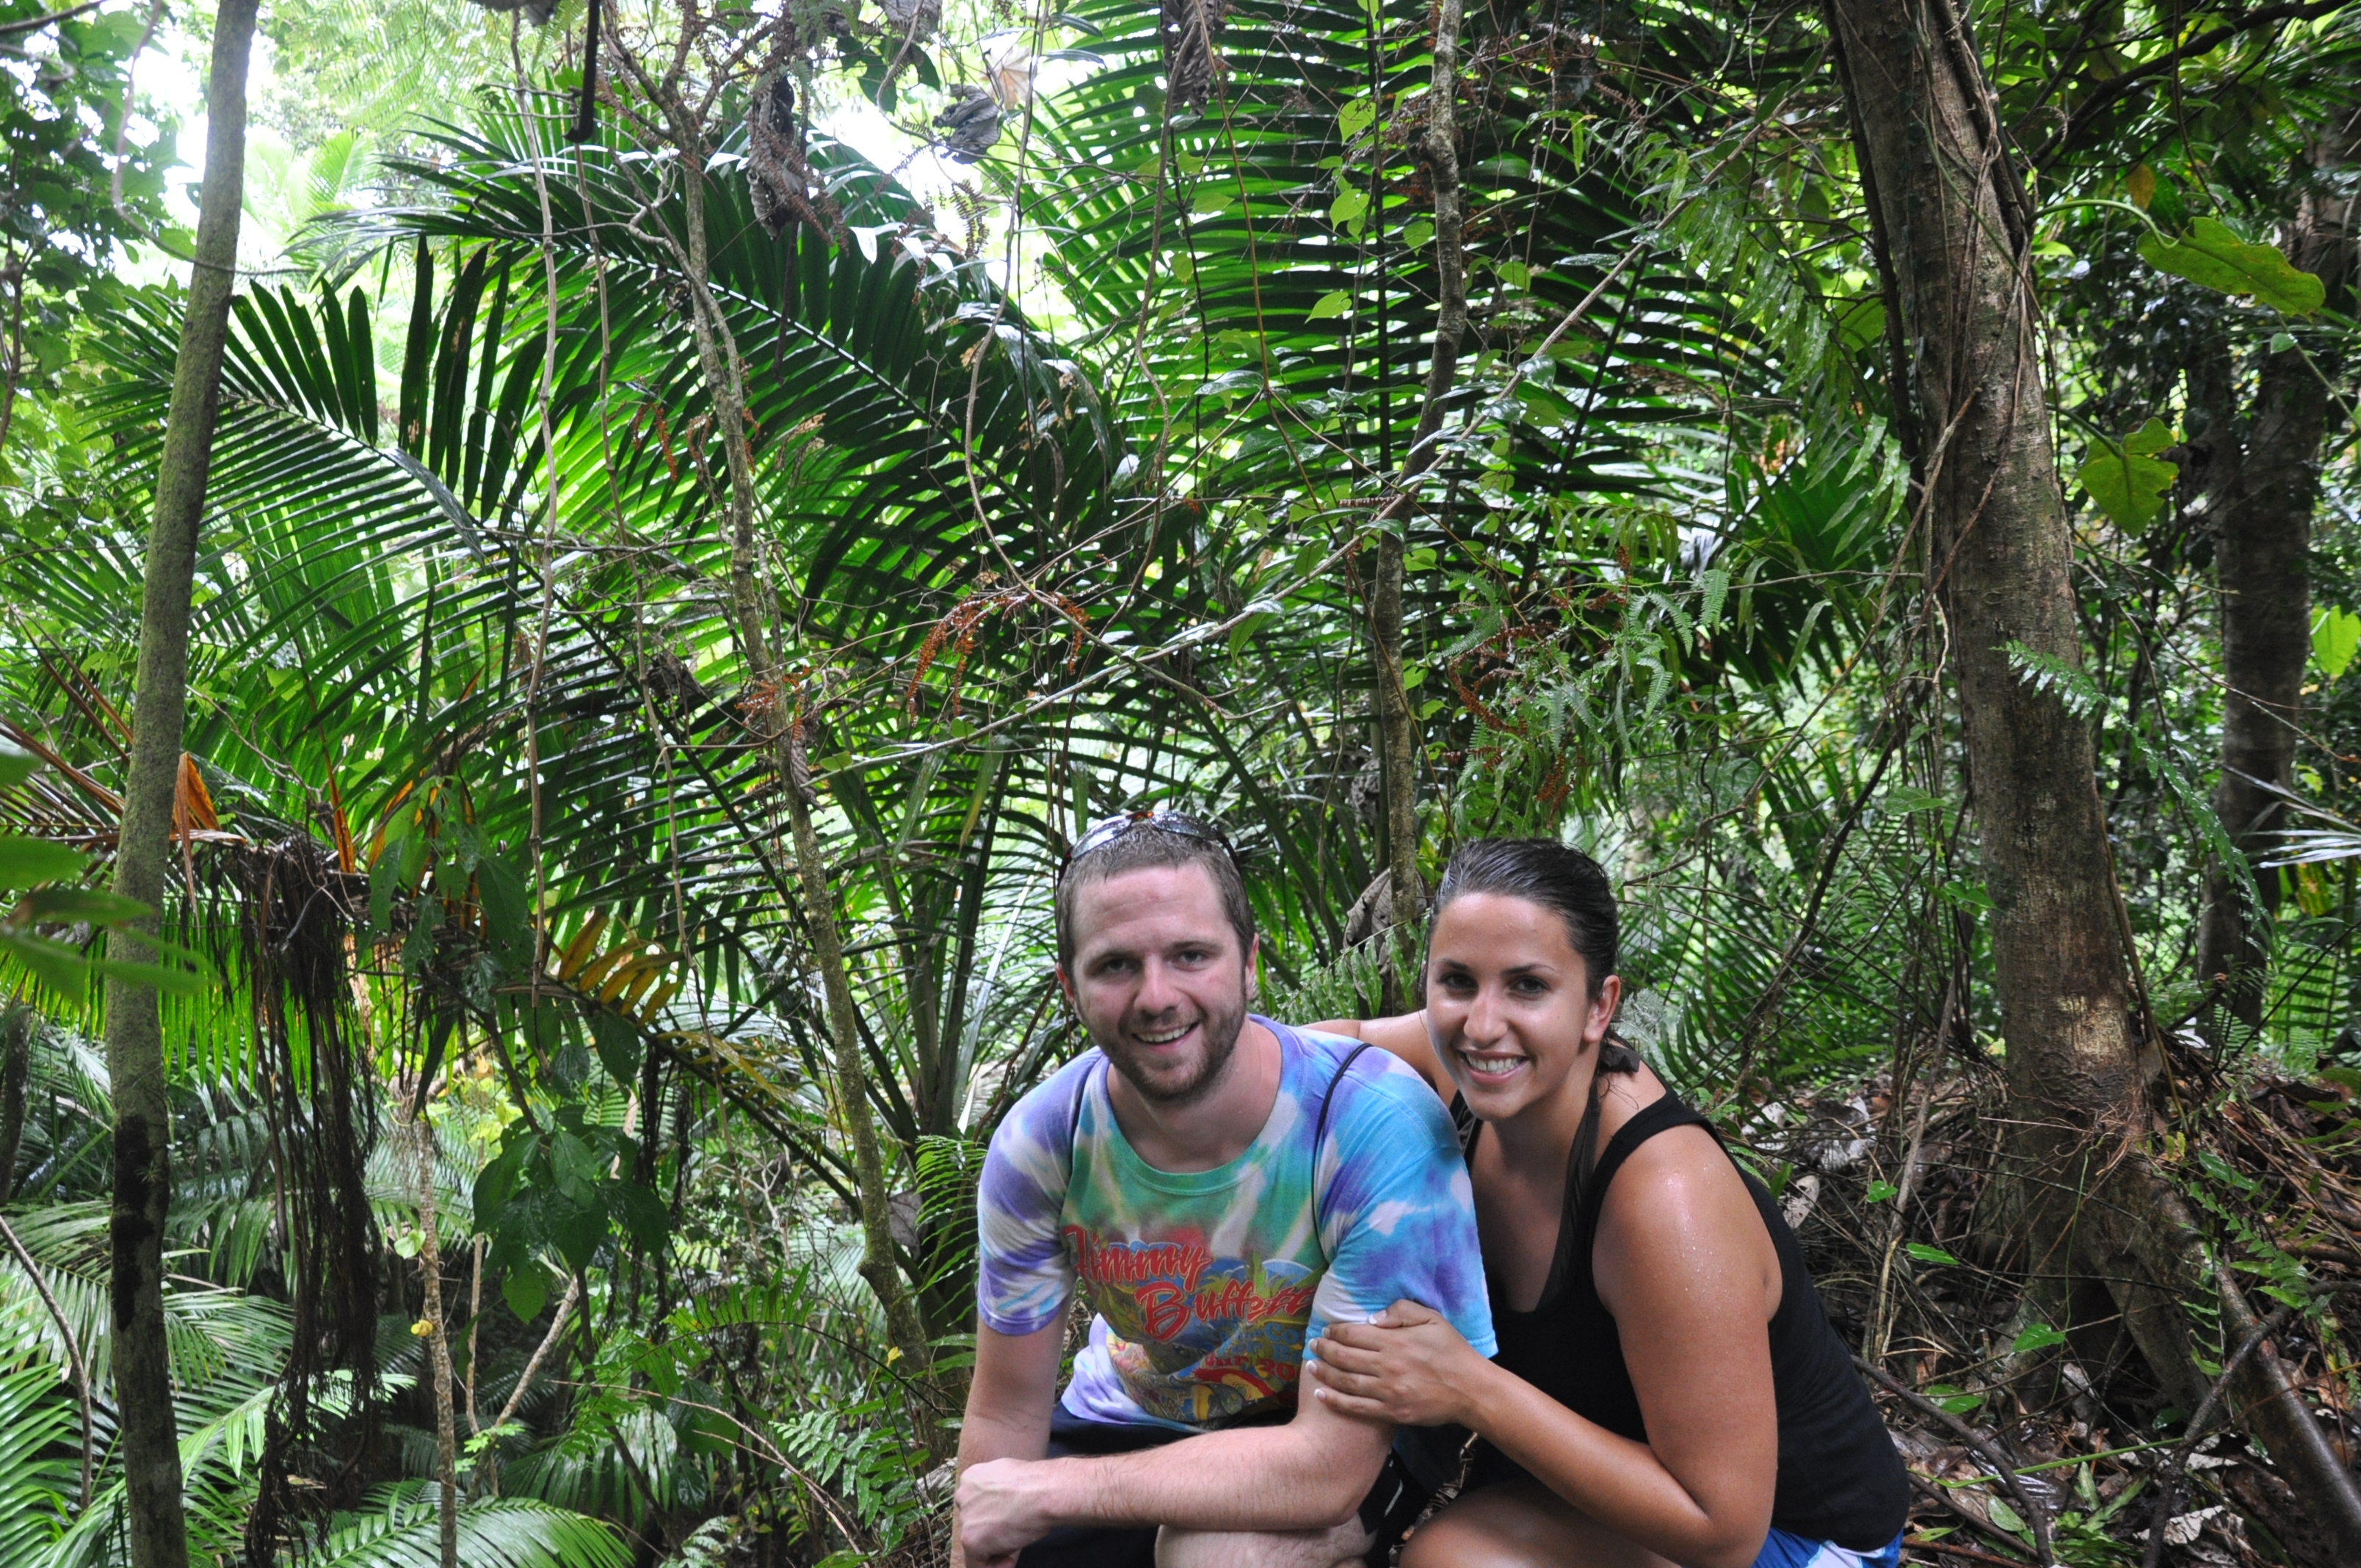
Photo with distracting background
Get Close: This is by far the best way to photograph people or groups or any subject (minus landscapes), by getting close your removing the distracting clutter of the background, softening (depth of field) the background, and really focusing in on your subject. This is the one most folks forget especially when their taking pictures f people. Sometimes they want to get the whole body in the frame, but in group shots what counts is the faces..
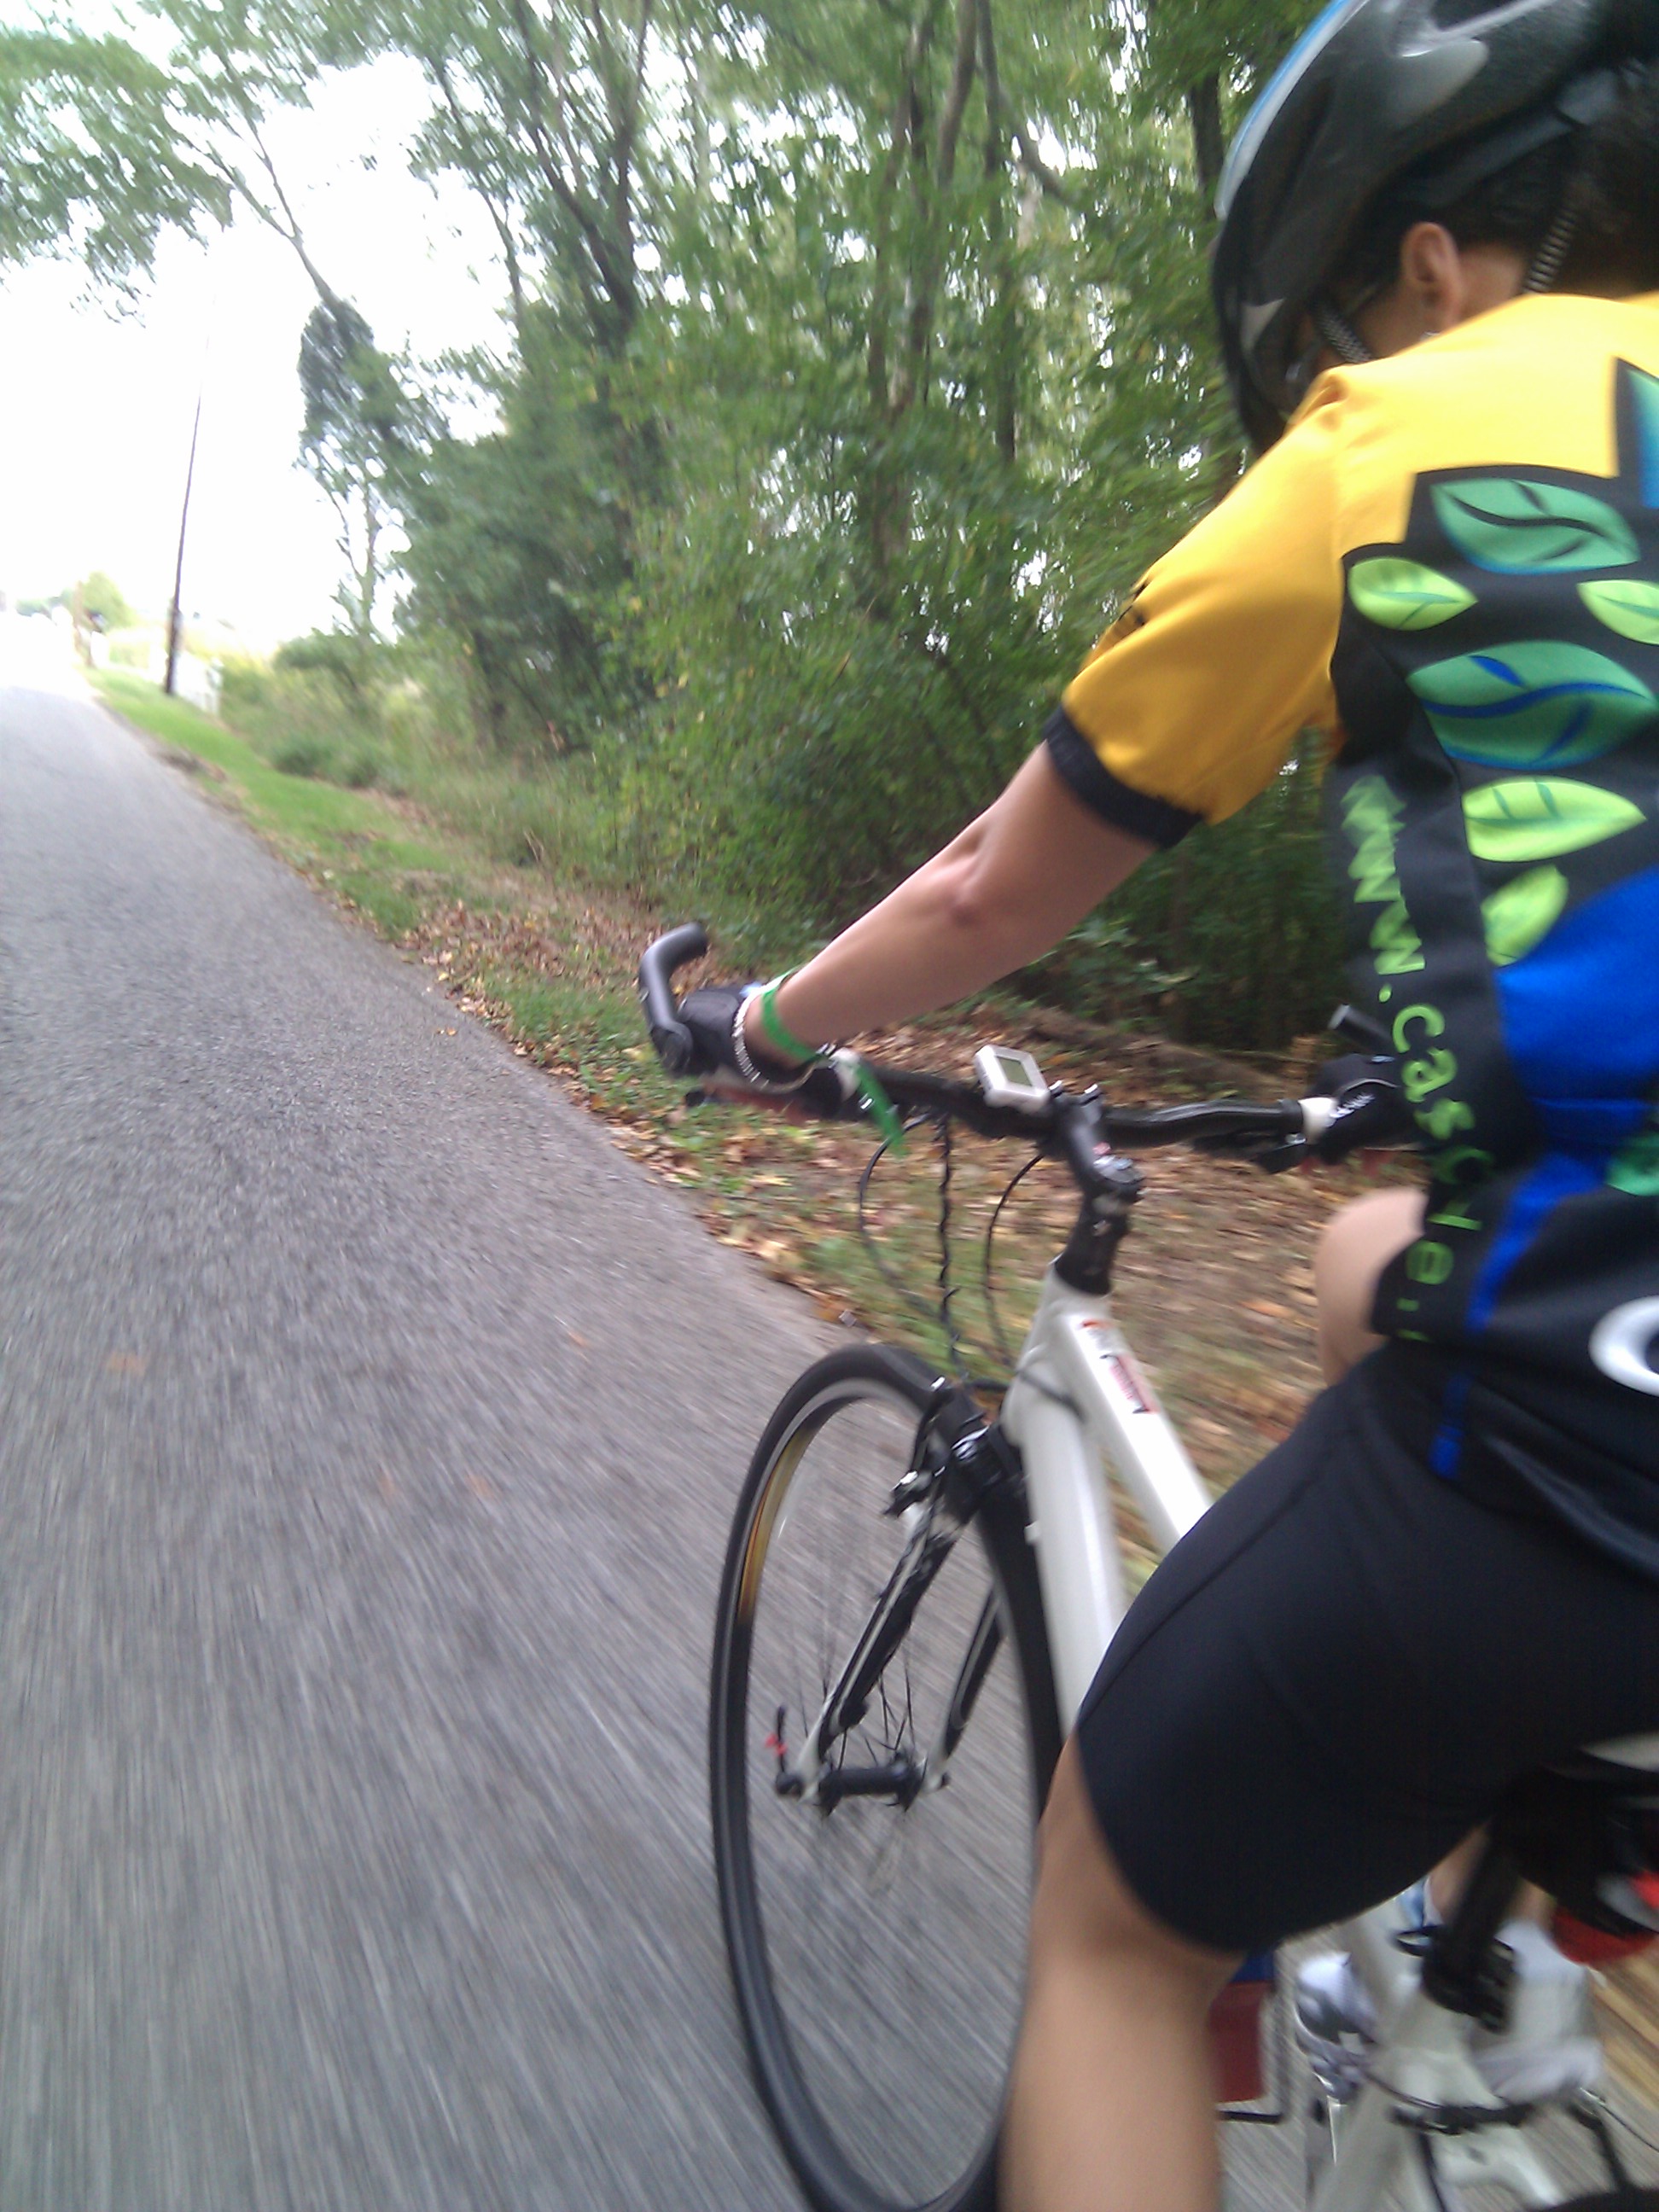
Tip #2: Shoot from off-angles

Eiffel tower from low angle
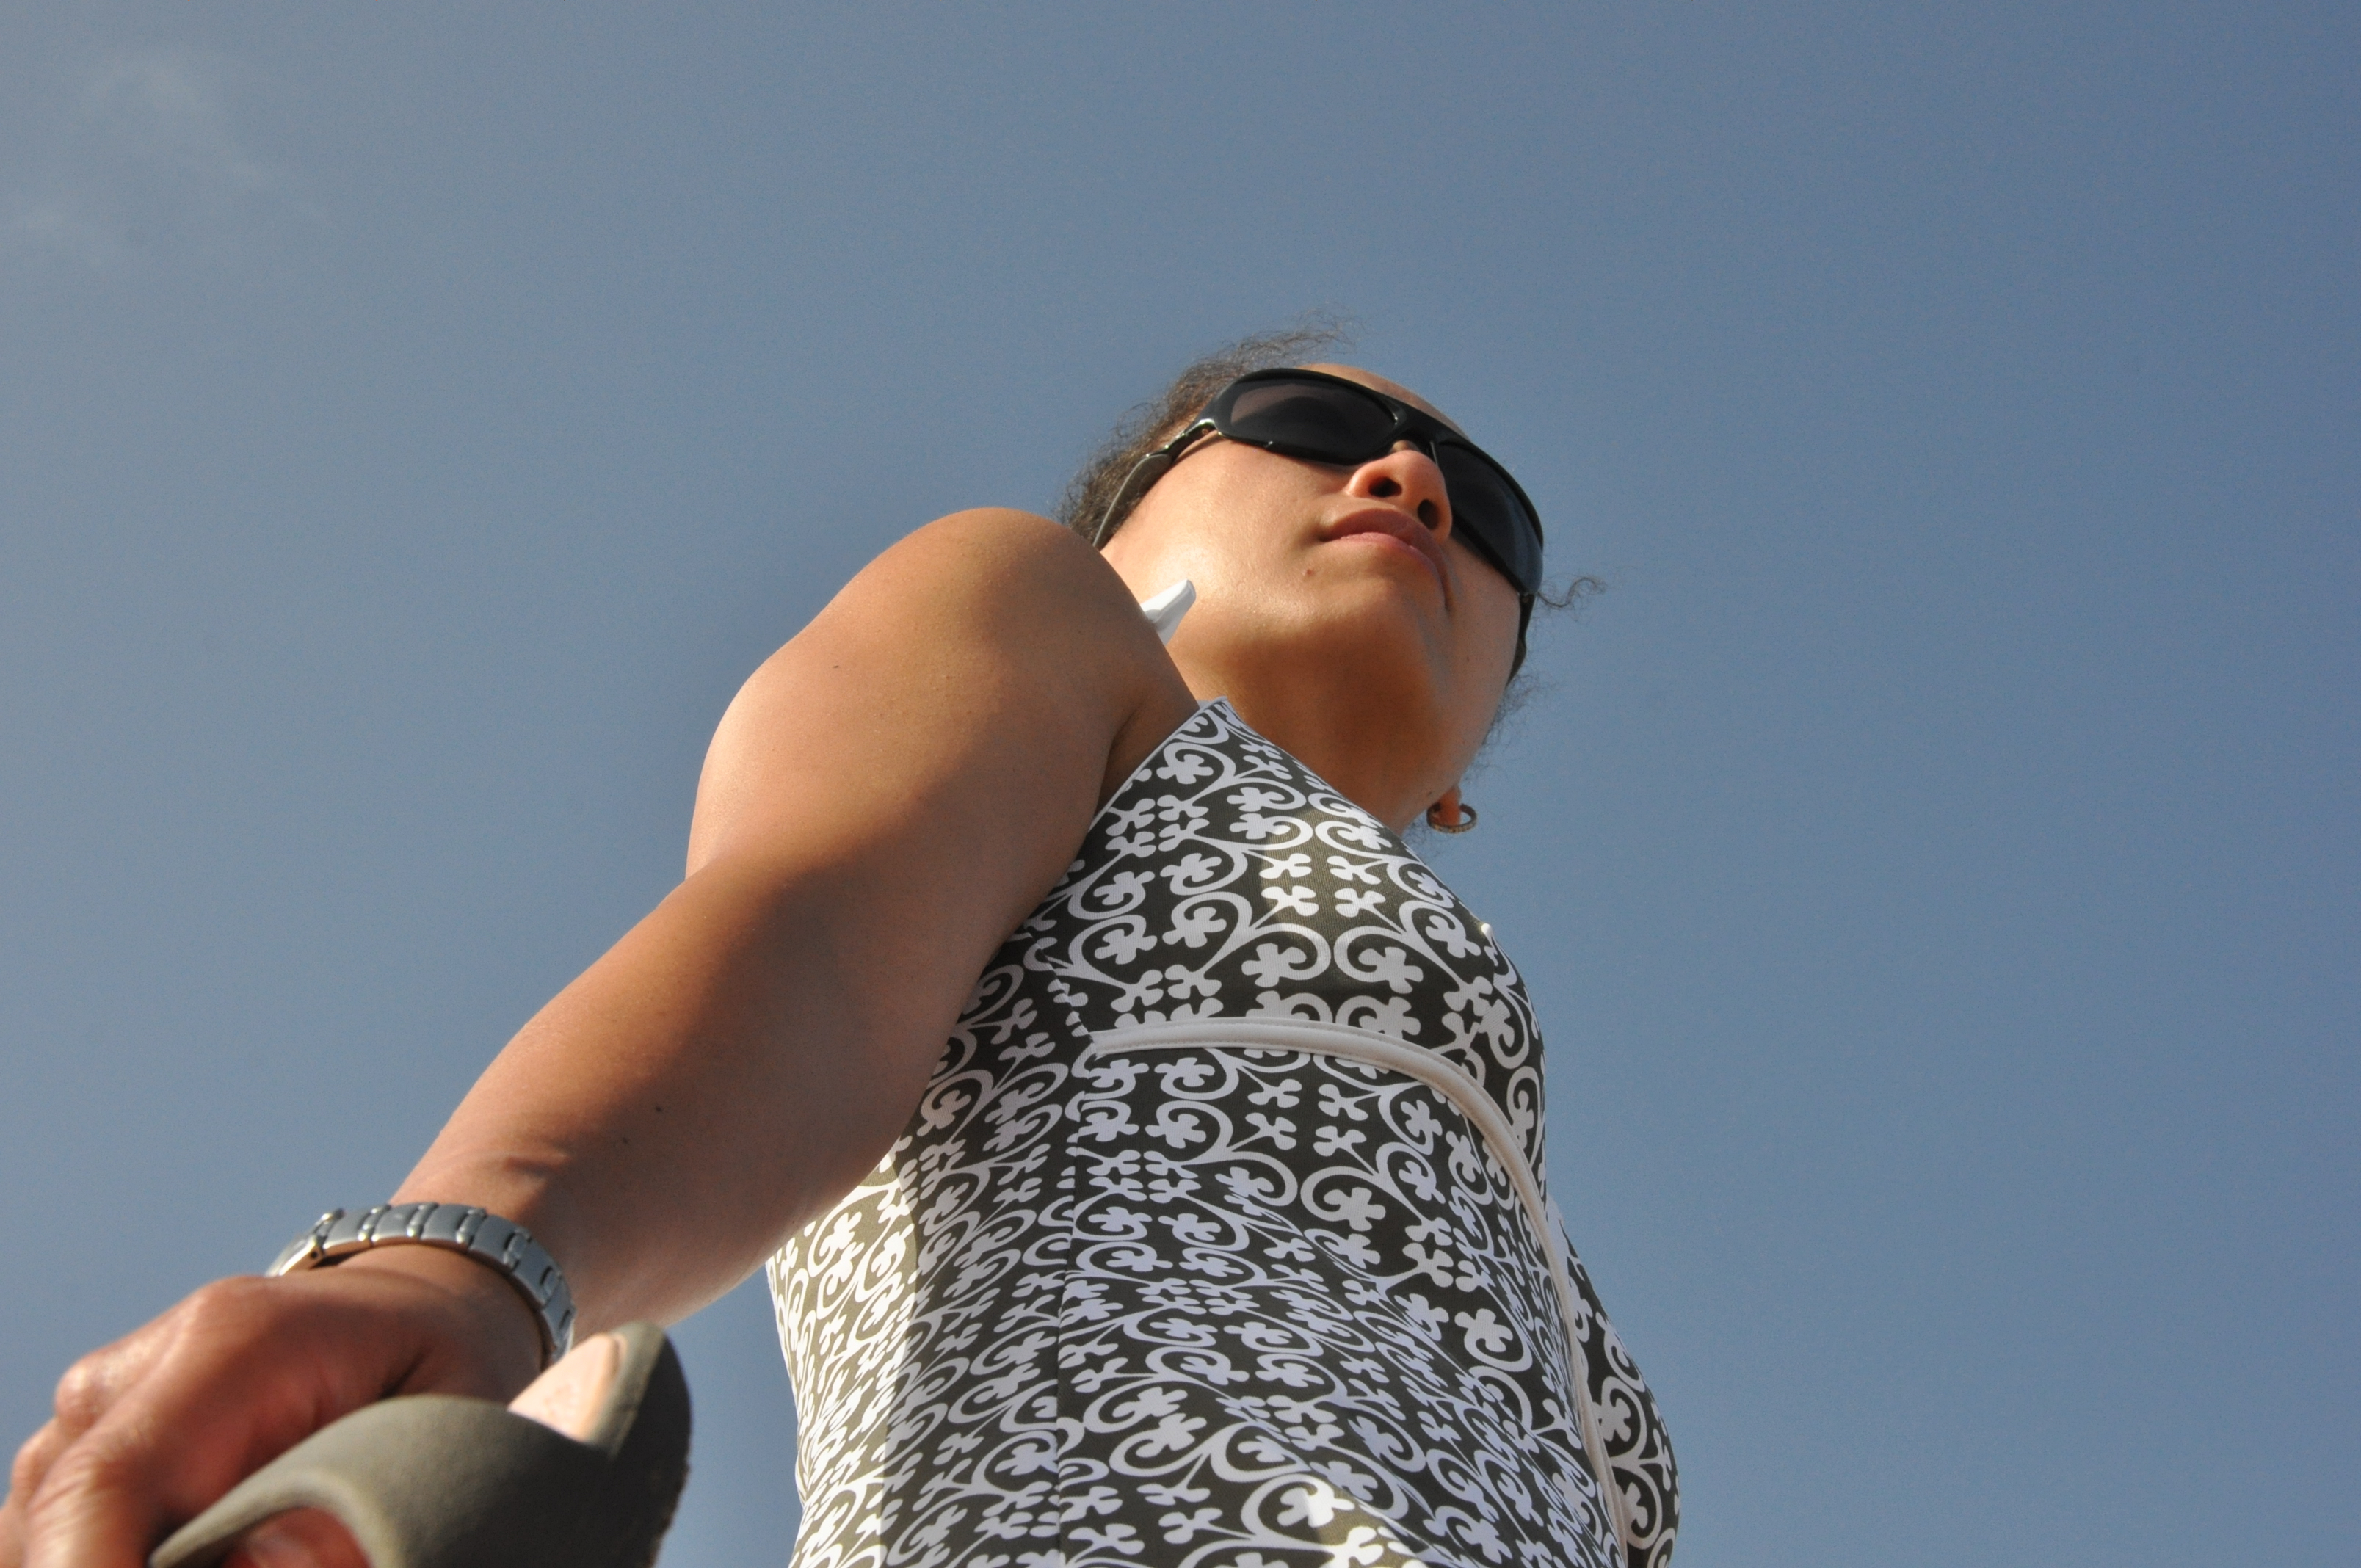
camera at low angle
Shoot from off-angles, in other words shoot from very high or very low positions with unusual camera orientations. Because most photos tend to be shot from standing eye-height, and this is kind of our default viewing angle, it doesn’t add any significant depth or creative structure to the shot.. But take a look at a few examples below and you’ll see the photo is much more interesting because your eye isn’t used to seeing something from this orientation. It helps to have a camera with an articulating viewfinder for these shots.
Tip #3: Follow Rule of Thirds

Composition by rule of thirds
Follow the rules of thirds in this case you “slice” your frame into a grid of three like a tic tac toe board. Then position your subject at one of the intersection points. This approach has a way o weighting the frame and creating emphasis and tension in the picture. In other words it makes most photos look better. Try it.
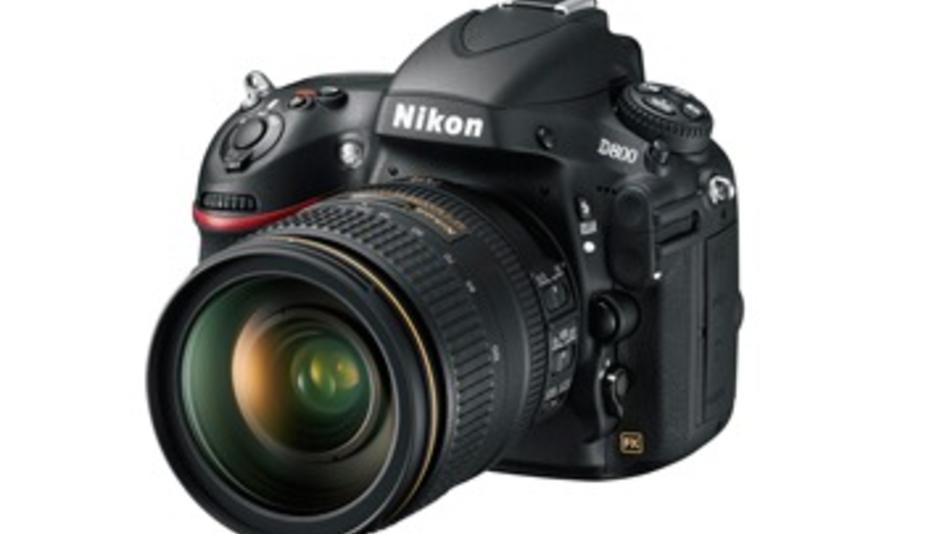
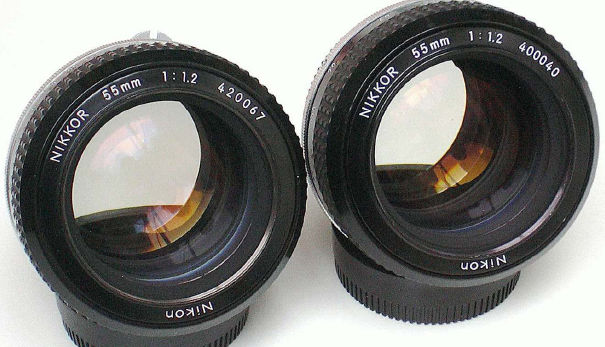
Tip #4 : Invest in a fast lens
FAst lenses are those with f-stops of 2.4 or lower
Invest in a fast lens. This really only applies to DSLR (with interchangeable lenses), but by getting a lens with an f-stop capability of f2.4 or lower you increase not only the amount of light the lens lets in but also how quickly you can take shots. This is especially important for indoor photos or sports shots. To get a good idea of quality lenses visit KenRockwell’s site also his post on Why fix lenses take better pictures. Sadly zoomable fast lenses are not cheap , so be aware.
Tip #5: Try creative effects.
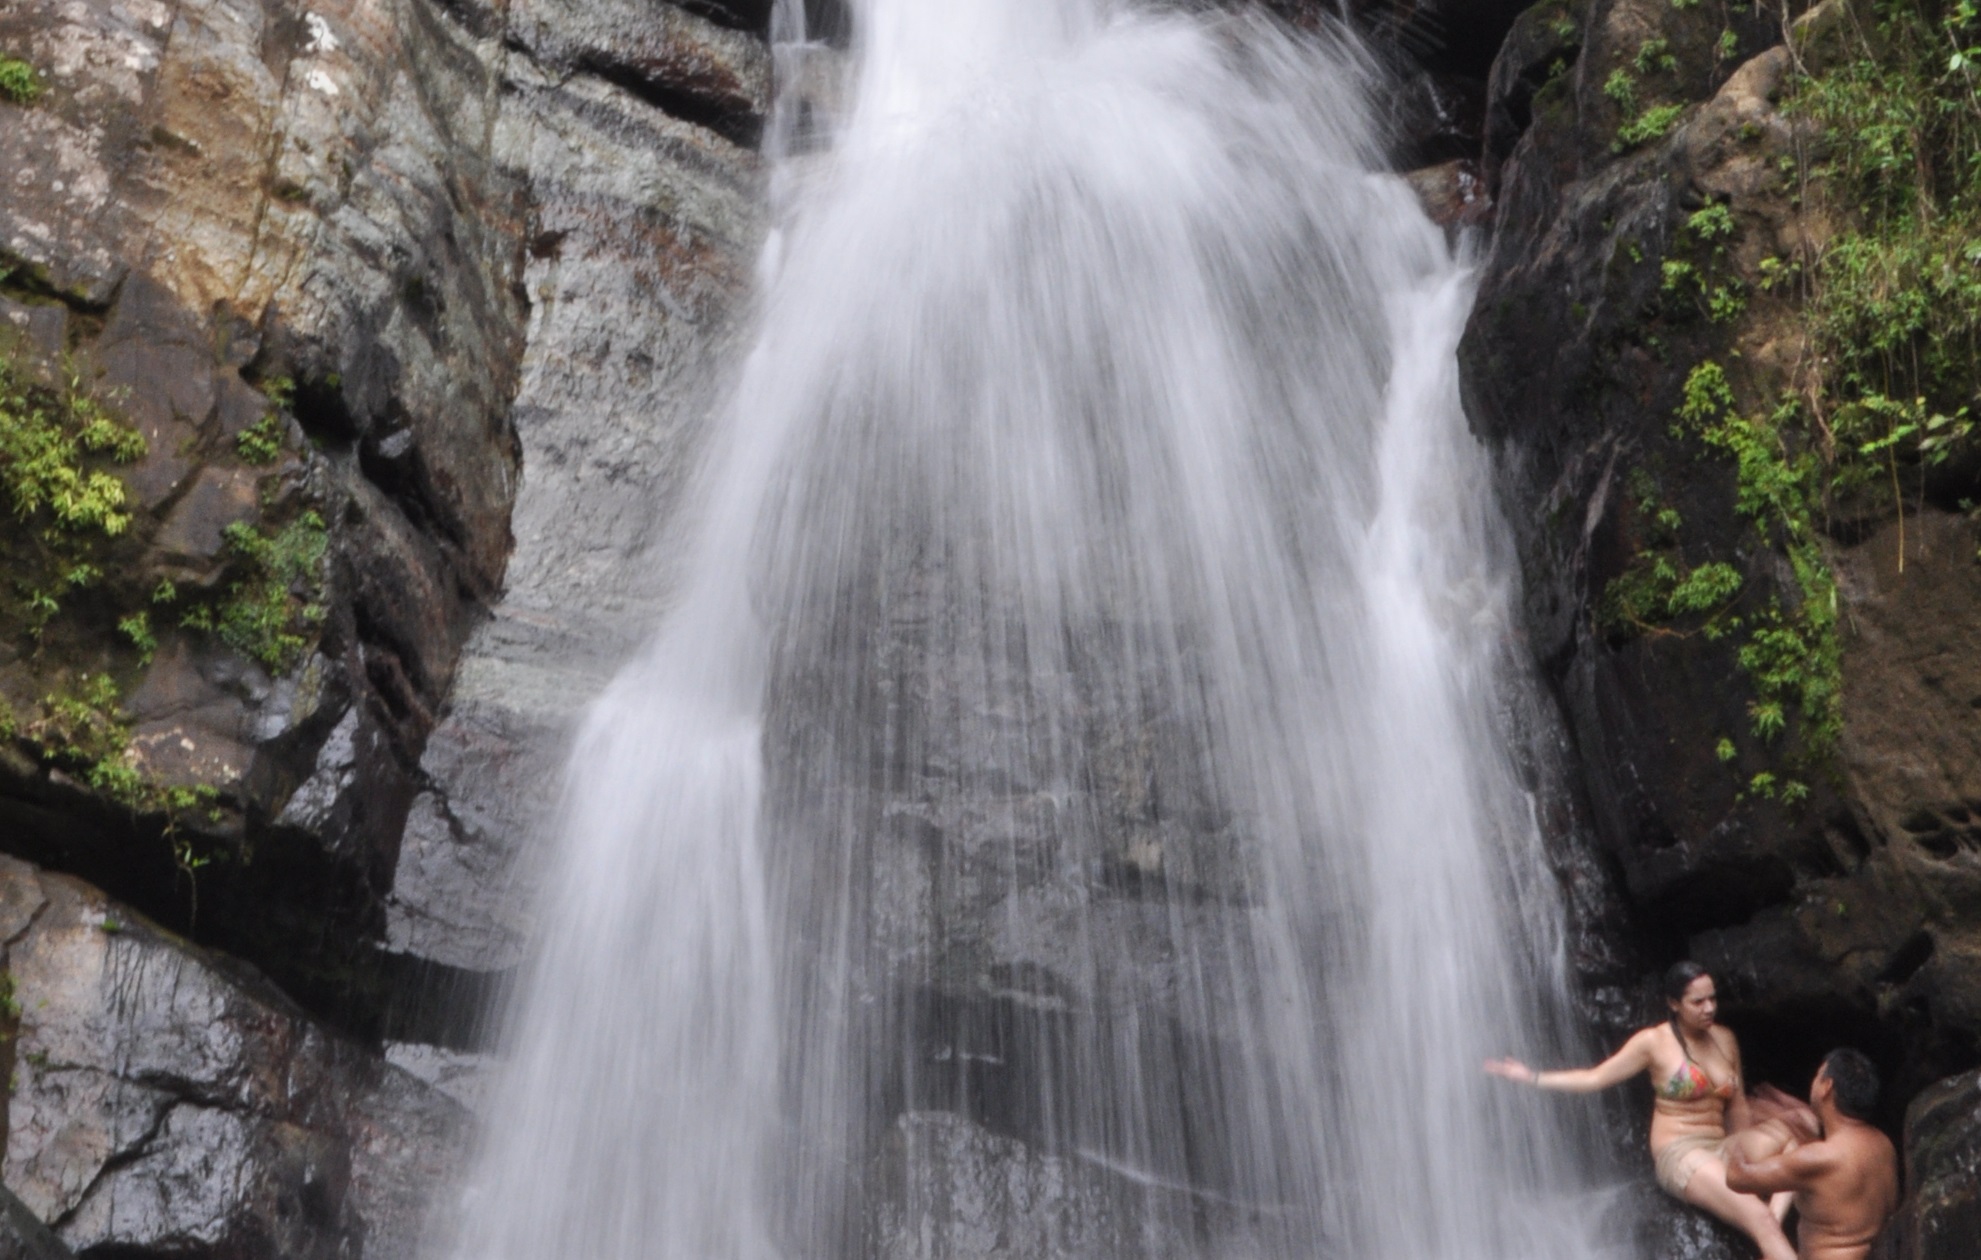
Milky waterfall by using slower shutter
Motion blur creates sense of movement
Try creating motion blur with a pan of a moving object (To do this, choose a shutter speed around two steps lower than necessary – so for 1/250, we’d choose 1/60. Keep your camera on the subject with your finger half way down on the shutter to lock the focus and when ready, take the photo, remembering to follow them as they move), or zoom-in/out to create the effect of depth tunnel effect, or try a long exposure setting (minute) at night and paint the frame with light, or use depth of field to make a subject pop out.. In other words occasionally try creative effects to enhance your skills and possibly creating very memorable photos.

Dawn shot
Tip #6: Try shooting ad Dawn/Dusk
The natural lighting during the dawn and dusk hours create very flattering color hues and allow for a very memorable photography, especially useful for landscape photography. Also overcast skies act like a natural soft-box and diffuse the harsh direct sunlight for shadow free photos.
Chimping
Tip #7: Take fewer shots / delete on the fly.
With digital photography, the ability to shoot limitless photos and the ability to preview them on the spot, really creates a new workflow and requires the photographer to be more attentive to quality photos. Its trivial to snap off hundreds of jpg photos, but it more important to wait, pick and choose your shots and try to be more aware of a quality photo and immediately delete those bad shots. Try the time proven act of Photo chimping, to quickly review and delete.
Tip #8: Understand basic camera features
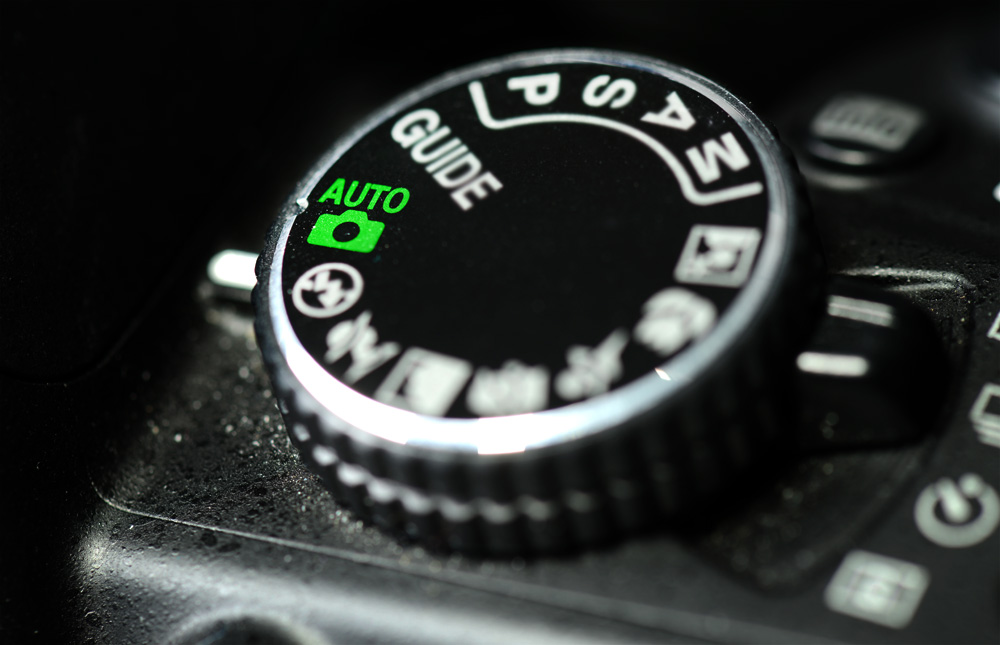
Understand your cameras dial
The truth is the auto mode will suffice for most shots, I’m a believer the composition of the photo will typically trump other camera issues. But when you have an understanding of how to manually adjust your camera’s settings (Aperture, Shutter, isO, etc) you have much broader canvas from which to create memorable photography.
Tip #9: Consider Tripod or MonoPod for steadier shots
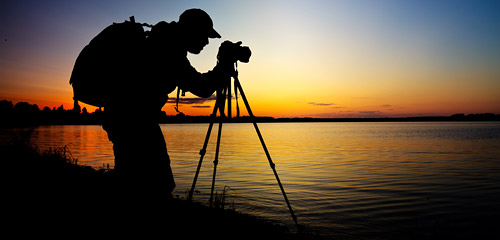 Photos with a Tripod or mono-pod offer unmistakably shake-free photos. A tripod is great if you have the room and time to set it up. But a monopod is more portable and less obtrusive in tight shooting locations.
Tip #10: Read more Photo blogs
Read and Bookmark KenRockwell’s Photography blog. I love this site for its no-nonsense approach to photography from a professional photographer. He’s not trying to sell anything and his wide range of reviews and tips are fantastic. There are also may other excellent photography blogs, check them out, and leave some notes in the comment section
Find more photography tips here: Lifehacker Photo tips here.